Wednesday, March 29, 2017
My Vision, Defined by a 3 year old.
This video has been running around the inter-web for a day or so. I found it via Boing Boing, a blog I frequent, and recommend. First off, this is really funny, and cute and adorable. But it also captures much of how I feel about the robots I build, there is clearly joy in this young lady as she stumbles across a mechanical friend while going for a walk. There is also the absurdity, from an adult perspective, that its a water heater, one with personality, but still a water heater! A great hulking inert thing that came alive, for a moment, because a little girl went for a walk.
Rayna, I do not know who you are, but you ROCK!

Thursday, March 23, 2017
Newest Addition
I finished this one up this week. I stumbled across 9 old Weston ammeters and got a good deal on them. They make a great platform to build on, I had done two using similar gauges that I got from my friend Amina. I posted about them here. With this one I kept the skeletal nature of the arms the same as before, but added a light in the head. I wanted this one to fit in with the other 2 and I think it does nicely.


Wednesday, March 1, 2017
February Break
Teaching is a good but demanding job, the breaks, when they come, are much needed. Its kind of like performing all day long, a rest from being "on" all the time can often be vital. So Feb break was both restful and an opportunity to finish some projects.


This one is just about 3 feet tall, hence the photo in the kitchen, instead of an all neutral background. I love the way this one came out - it makes me laugh.

This one is less than a foot. I love the presence these have, I try to imbue them all with a sense of personality. Most of the times I think I manage to do it.
Friday, February 10, 2017
Another creation
I finished this one this week while we were getting hit with this winters first real storm. I had the day off so I spent a portion of it at the bench. This one is about 3 inches tall. I really like it, especially the fact that it has no real front or back, it kinda works both ways.


Wednesday, February 1, 2017
Lots going on
The past week or two have been busy. This is the bench in the Robotorium. Right now I have 6 different robots in varying stages of completion. When I get going like this the bench gets kind of crazy, but it's how I work. I love it when I have a bunch going on. It allows me to jump between projects, so if Im stuck I go to something else, or another idea pops into being and off I go. Not the most efficient way to work, but a lot of fun.


Saturday, January 7, 2017
The Creative Process
With this post I want to give you an idea of how I create a robot. This project took about 3 weeks and is fairly representative of how I go about designing (if you can call it that) and building one of these.

 Originally I was going to use this old glass telephone pole insulator as the head. I was going for a Robby the Robot kind of look. I was also thinking about adding an LED inside the insulator for some subtle lighting effect. Once I decided to get going on this project I started messing around with different heads.


I really like what this did. In this photo I have already added a heat sink to the binoculars as a sort of a mouth. There are also a set of neodymium hard drive magnets to the side of the timer. I love the face of the timer but the sides and back were basically blank and needed something to provide a little more visual interest and I like the way the magnets did that. The binoculars are sitting on a bearing and large plastic gear and the head rotates. At this point I was envisioning some sort of arms made of black corrugated plastic, or old rubber hose.
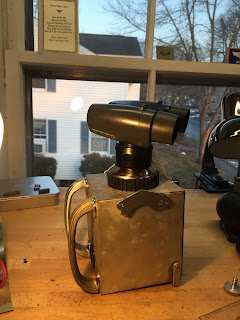
In addition to the magnets I stuck these old handles on the back. Visually they work really well with the timer and they soften the body. Now I'm getting somewhere, but I still hadn't figured out the arms. I decided to set the whole thing aside and started messing around with some old dental drill parts I had. I ended up making these:
 Now I had a very cool set of arms that I had absolutely no intention of using on my current project. These have a kind of Terminator look that, while I love, did not fit with what I was fiddling together. Often when I am building I drop what I am doing and start messing with something else, its a haphazard way to work but I find it really fun. So now I have a pair of arms that I'm thinking would serve as the basis for an entirely different robot when inspiration struck:

So my idea was to build off of the hard drive magnets I had stuck to the side as shoulders and see if I could find a way to visually incorporate the arms I just made. This is what I came up with:


This is a timer from The Industrial Timer Corporation in Parsippany NJ. I bought this on eBay over 3 years ago. Its one of the first things I got when I started thinking about building these, so its been sitting around for quite while.


I tried this, an old aircraft whiskey compass. I like the way the numbers and hash marks on the compass work with the numbers on the face of the timer, but something about this wasn't jelling. Next I pulled out an old pair of binoculars I had and a few other bits and came up with this:

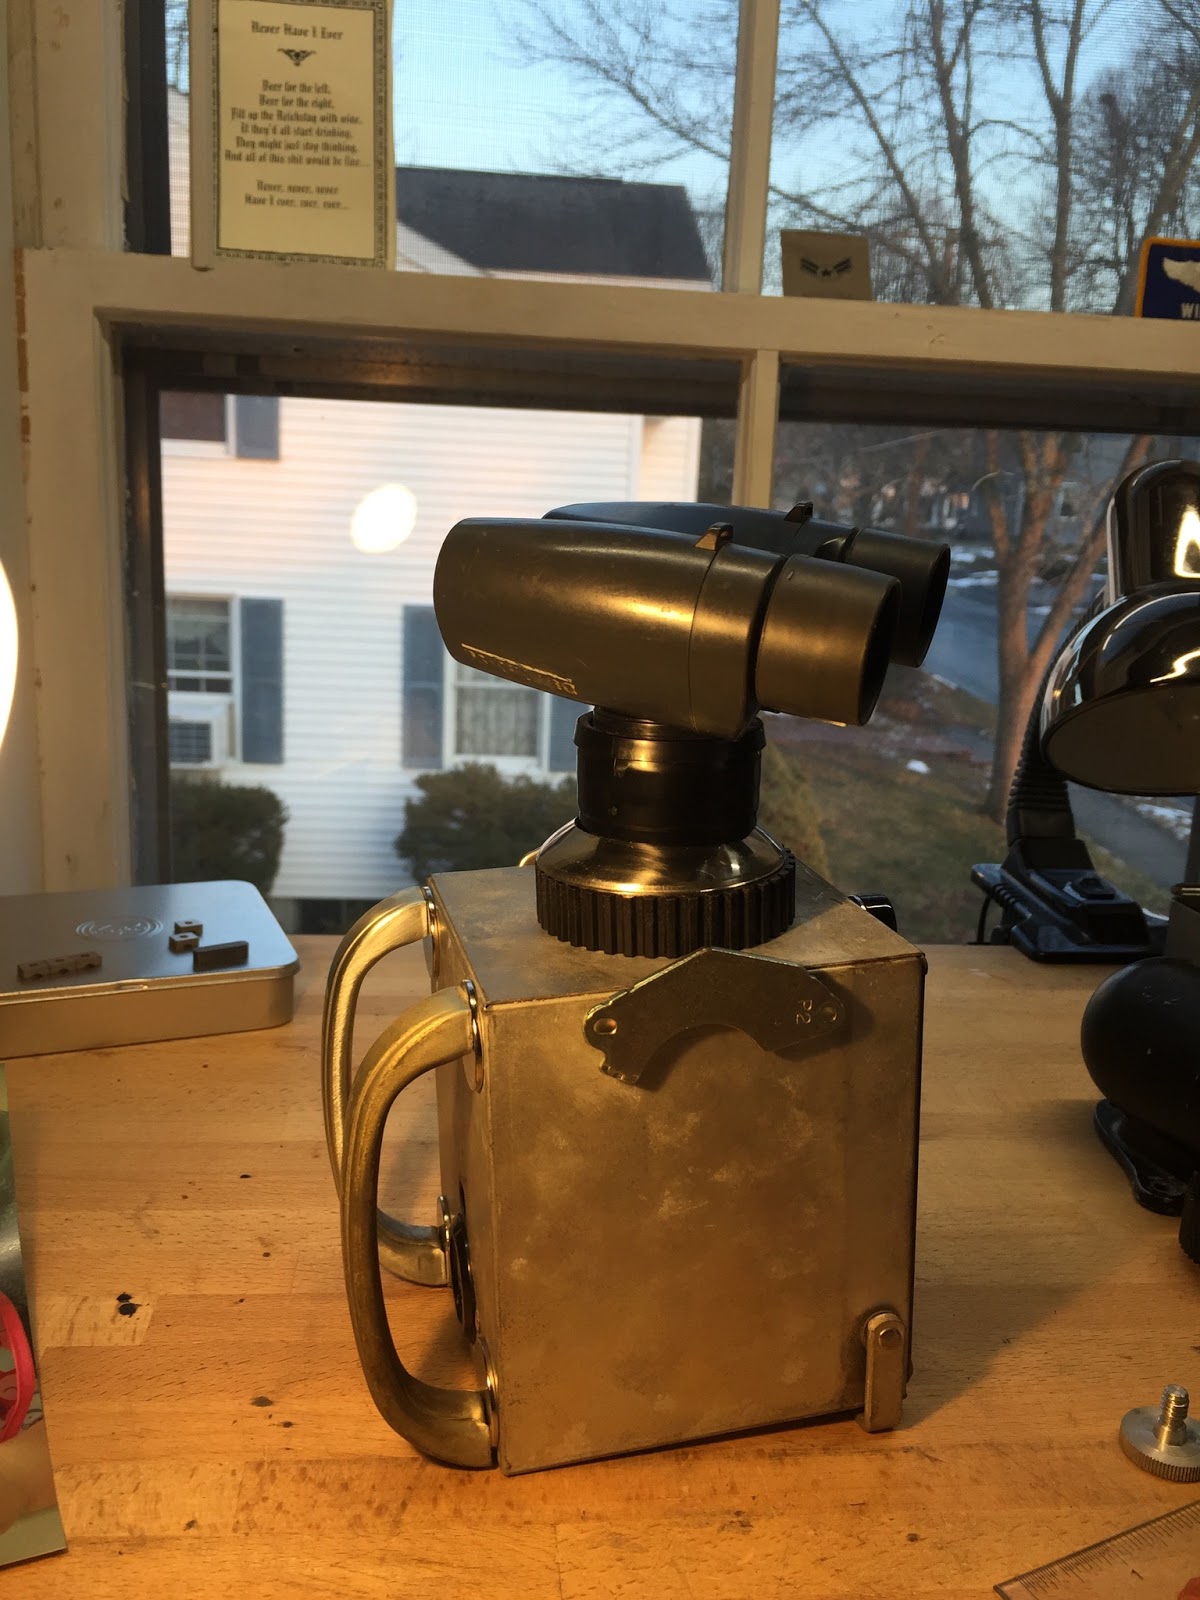
In addition to the magnets I stuck these old handles on the back. Visually they work really well with the timer and they soften the body. Now I'm getting somewhere, but I still hadn't figured out the arms. I decided to set the whole thing aside and started messing around with some old dental drill parts I had. I ended up making these:


Inspiration!
So my idea was to build off of the hard drive magnets I had stuck to the side as shoulders and see if I could find a way to visually incorporate the arms I just made. This is what I came up with:

I changed the type of hard drive magnet, added a few bearings to it and came up with a shoulder that worked with the new arms. The problem was I still wanted a way to integrate the wires on the arm with the body as well as the skeleton like look with the rest of the robot, so I found this:

I got rid of the gear part of the neck and used this aluminum frame from and old blender motor and added a few bearings to the neck. These parts help to tie the arms to the body both mechanically and visually. I'm really loving how it looks. Now I need legs, but I had no idea what the legs were going to be. I need to think a bit.

While thinking about the legs I did made one slight change to the shoulder. I dumped one of the bigger bearings and added a small aluminum nut in its place. I went back and forth for a while and ultimately liked the way this looked. Now, what about those legs? When I build I try to use what I have on hand. With that I started to rummage around and came upon the parts I used for the legs of "The Five" series. With a little more messing around, and the idea of making this a tripod, I came up with this:

Visually these work. They echo the color and material of the neck the arms and the body. The black feet visually connect to the neck and body, and the gears above the feet play off of the timer faceplate. I just needed to do a little futzing around to figure out how to attach them and "Viola" a new robot joins the crowd:


I love the way this turned out. I think it has a lot of visual interest and a well thought out design. For any given project the process is pretty much the same. I start with a piece, mess around with a few ideas, which knock loose a few more ideas and eventually it all comes together.
Friday, December 30, 2016
Not a Robot
So clearly this is not a robot. But it is very cool. It came together pretty quickly in the midst of working on another robot. I love the way it looks and it is in keeping with the machine age asthetic I try to capture. Right now I am working on a series the shows the creative process, look for it soon.


Subscribe to:
Posts (Atom)