
This is a timer from The Industrial Timer Corporation in Parsippany NJ. I bought this on eBay over 3 years ago. Its one of the first things I got when I started thinking about building these, so its been sitting around for quite while.


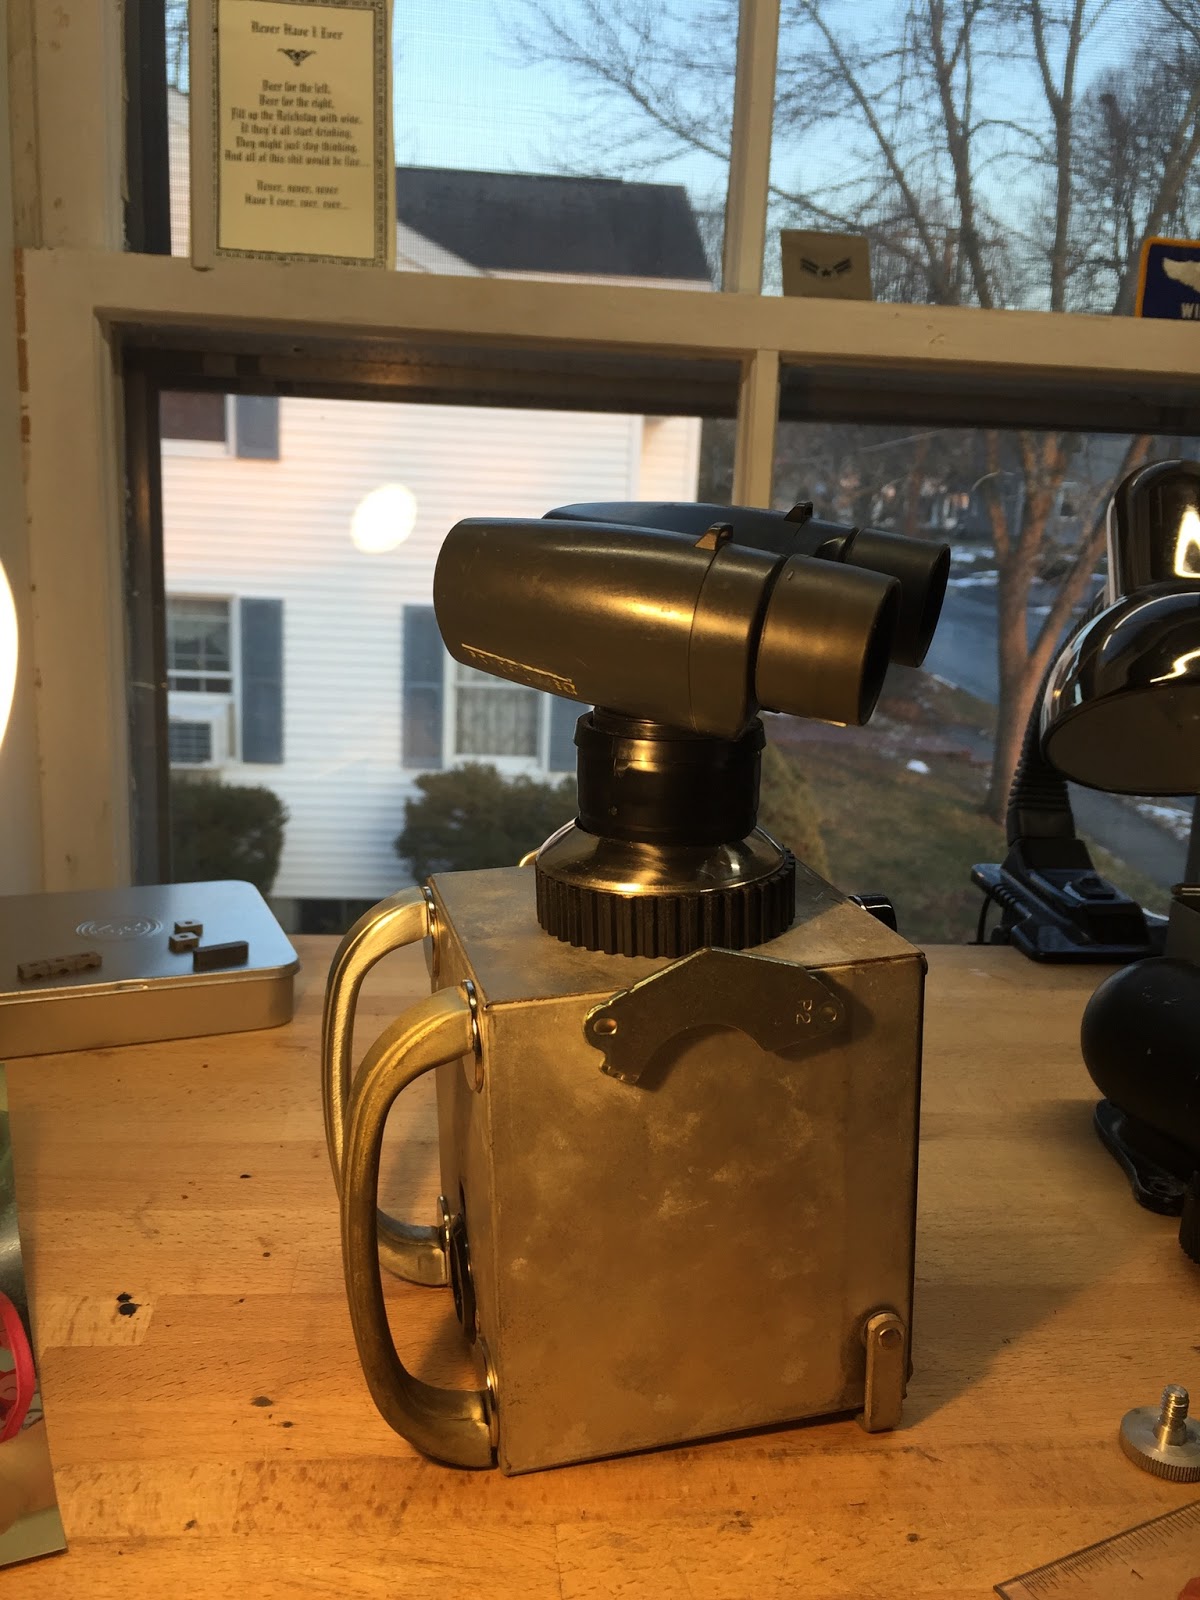
I tried this, an old aircraft whiskey compass. I like the way the numbers and hash marks on the compass work with the numbers on the face of the timer, but something about this wasn't jelling. Next I pulled out an old pair of binoculars I had and a few other bits and came up with this:

In addition to the magnets I stuck these old handles on the back. Visually they work really well with the timer and they soften the body. Now I'm getting somewhere, but I still hadn't figured out the arms. I decided to set the whole thing aside and started messing around with some old dental drill parts I had. I ended up making these:


Inspiration!
So my idea was to build off of the hard drive magnets I had stuck to the side as shoulders and see if I could find a way to visually incorporate the arms I just made. This is what I came up with:

I changed the type of hard drive magnet, added a few bearings to it and came up with a shoulder that worked with the new arms. The problem was I still wanted a way to integrate the wires on the arm with the body as well as the skeleton like look with the rest of the robot, so I found this:

I got rid of the gear part of the neck and used this aluminum frame from and old blender motor and added a few bearings to the neck. These parts help to tie the arms to the body both mechanically and visually. I'm really loving how it looks. Now I need legs, but I had no idea what the legs were going to be. I need to think a bit.

While thinking about the legs I did made one slight change to the shoulder. I dumped one of the bigger bearings and added a small aluminum nut in its place. I went back and forth for a while and ultimately liked the way this looked. Now, what about those legs? When I build I try to use what I have on hand. With that I started to rummage around and came upon the parts I used for the legs of "The Five" series. With a little more messing around, and the idea of making this a tripod, I came up with this:

Visually these work. They echo the color and material of the neck the arms and the body. The black feet visually connect to the neck and body, and the gears above the feet play off of the timer faceplate. I just needed to do a little futzing around to figure out how to attach them and "Viola" a new robot joins the crowd:


I love the way this turned out. I think it has a lot of visual interest and a well thought out design. For any given project the process is pretty much the same. I start with a piece, mess around with a few ideas, which knock loose a few more ideas and eventually it all comes together.